
I don't know about you but I am a blog junky. I enjoy reading and learning from others on DIY projects, recipes, giveaways and whatever else they happen to talk about. In early September, I was reading an email subscription from Kristen at Ella Claire about an Autumn sign she had made. I loved how it turned out and knew immediately that I wanted to create one myself.
My original thought was to create my own signage with different wording and fonts. However, I decided that my piece of mind was better spared if I opted to use the printable that Kristen shared on her Tutorial. (As Kristen states in her tutorial, if you use the printable, please be courteous and only use it for personal use.)
Now that I had the printable, I needed a piece of wood. A couple weeks ago, a girlfriend of mine headed out one day in search of the perfect piece. This was harder than it seemed. We went to the flea market and left empty handed. There is a salvage store just outside my hometown, Culpepper's Otto Depot that I had been dying to visit. It was on our way back home, so we decided to stop. Culpepper's is vintage lighting, architectural salvage, antique hardware store. It was as if the heavens opened and angels sang a harmonious "Ah_______" when we walked through the door. I fell in love.
There were shutters, windows, boards, cabinet doors, old doors and crates and anything else your heart could desire. And that was all within the first 15 feet inside the door! There were so many shapes, sizes and colors imaginable. All in their original state. It was a junker's delight and a clean freak's nightmare. Everything we touched had years of dust, dirt and grim all over it...giving it the exact amount of personality I was in search of.
After about 30 minutes of pulling out cabinet doors, old shelves and shutters I finally decided upon two pieces of wood. I cannot tell you exactly what either of them used to be in their past lives, all I know is they are perfect in every sense of the word. One would be used for my Fall sign and the other is yet to be determined.
 |
| *front* |
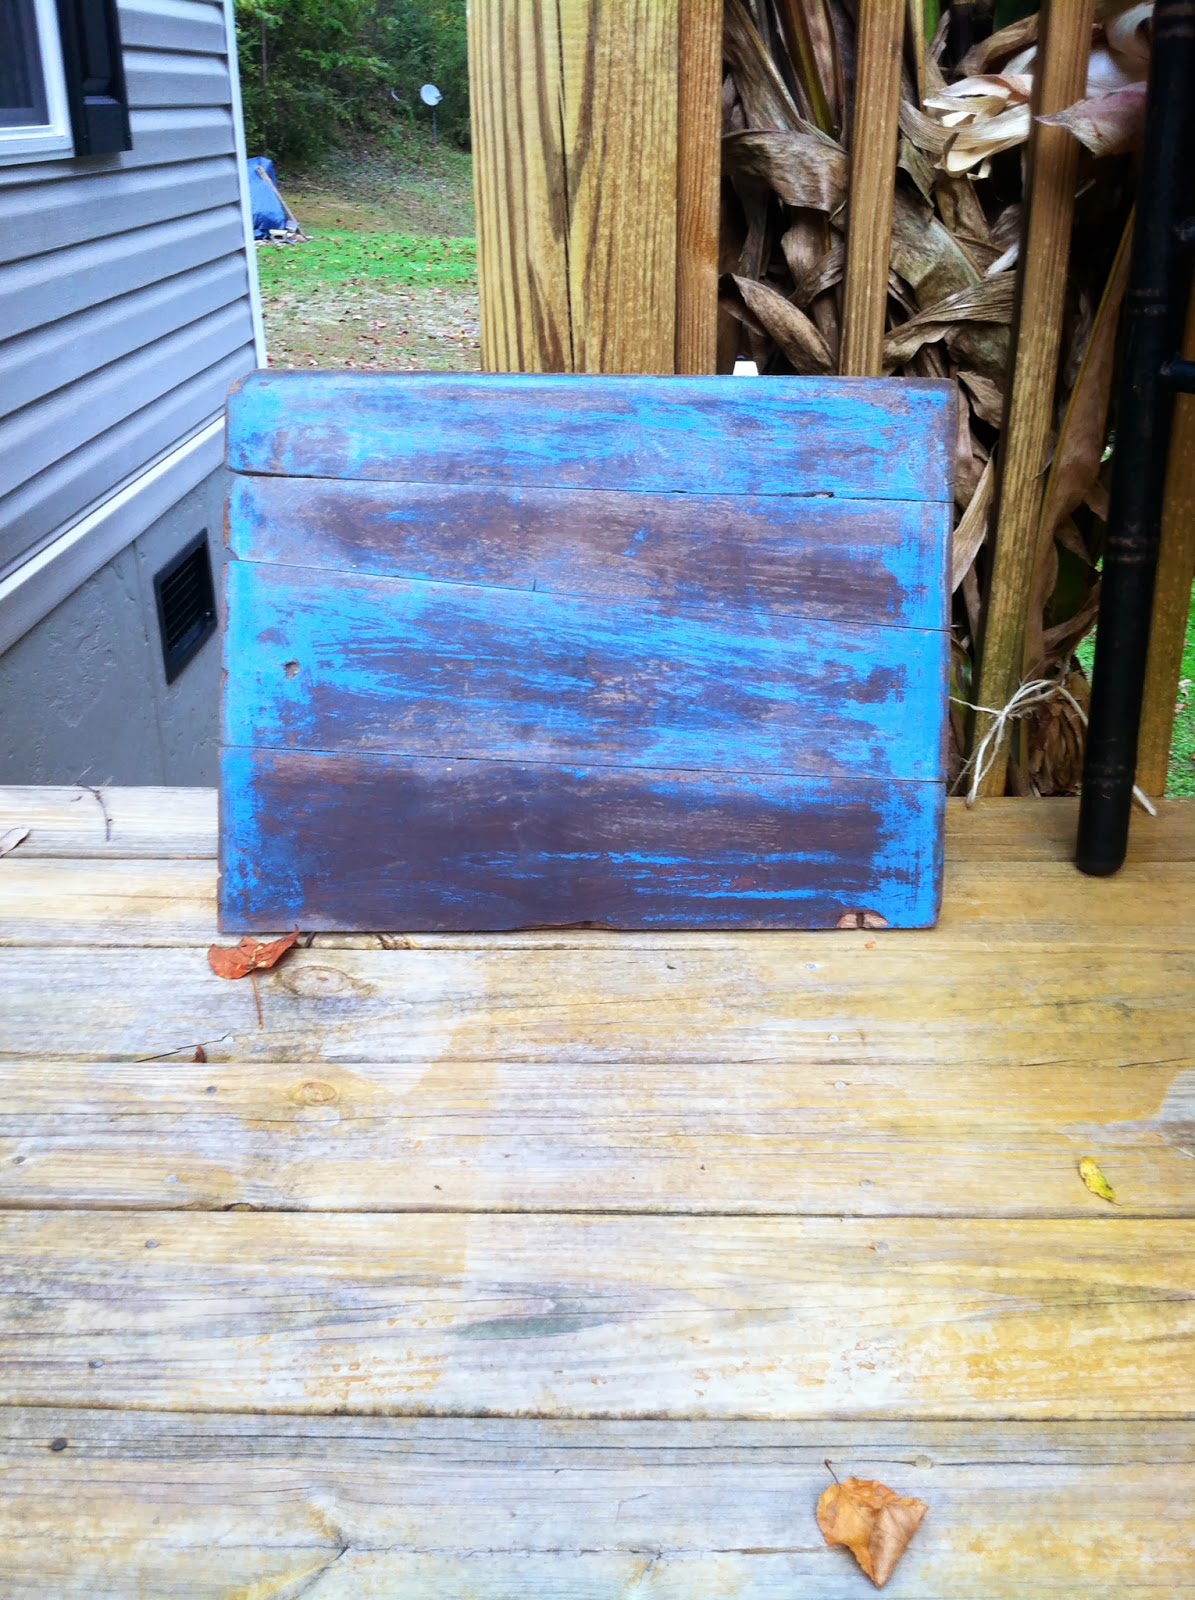
 |
| *back* |
I painted the words done a little highlighting with other colors and let it dry. Once it dried, I took a fine grit sandpaper and ran across the painted words to give them a weathered look. I did take a little antique white paint and brushed it along the edges and a little across the words to lighten up the darkness of the wood. I then sanded a little more on the white areas so it looked like it was supposed to be that way.
Finally, after several hours of lining up, transferring and painting the words I was done. It took me two evenings off and on to complete my sign. But I am beyond thrilled with the final product.

Although, I do not believe I will leave it outside I like how it looked with my fall vignette. It will more than likely be an indoor fall decoration.


Personally, I couldn't be happier with my project. Thank you Kristen for the inspiration!


I love what you did!
ReplyDelete